Kitchen Cabinet Installation (8 Step DIY or Pro Guide)
Taking on a remodel that includes kitchen cabinet installation can make one of the biggest visual and functional improvements in your home. Understanding how the installation process works allows you to make confident decisions whether you handle certain steps on your own or work with a professional. Cabinets play a major role in how your kitchen looks and operates, so proper preparation supports a result that feels reliable, attractive, and long lasting. Learning how to install kitchen cabinets also helps you understand how wall cabinets, base units, and even a corner cabinet all work together in the final layout.
You will learn:
- Why cabinet installation affects the performance of your kitchen
- How each stage of the installation process works
- What tools and materials support a clean and accurate install
- How do it yourself installation compares to a professional service
- Tips that help you avoid unnecessary setbacks
Why Proper Cabinet Installation Matters

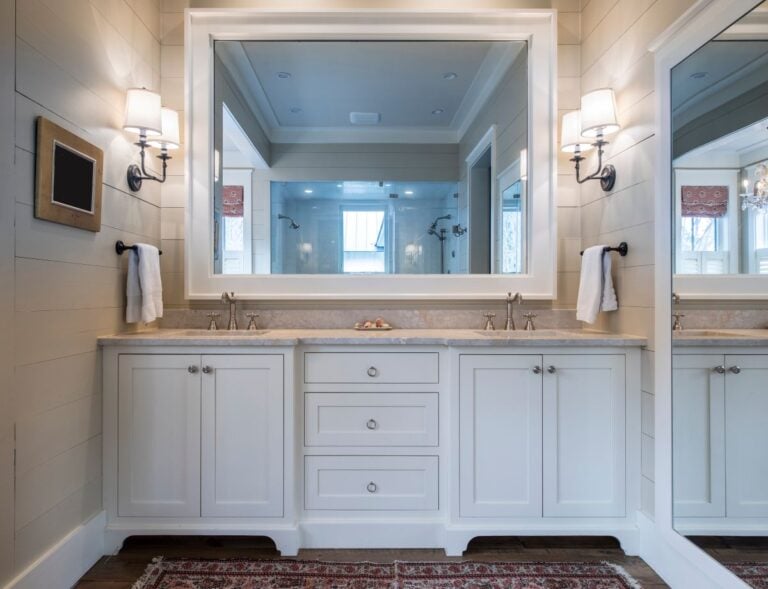
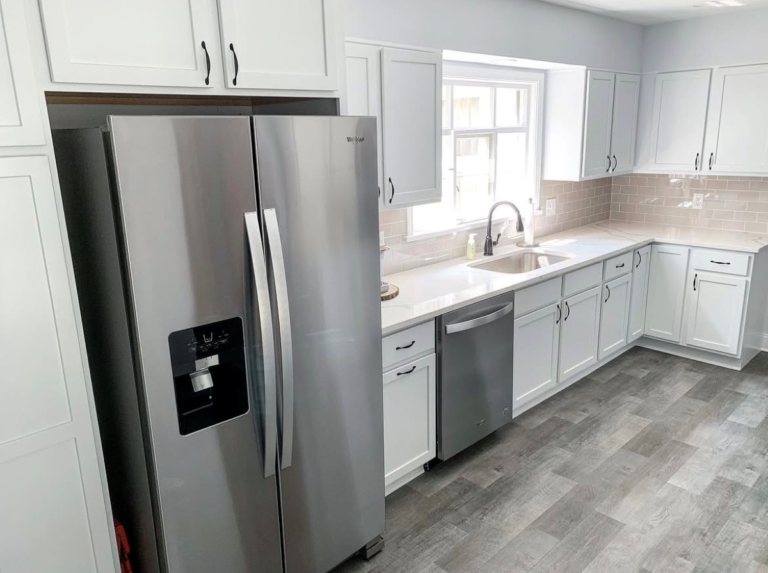
A successful installation influences both the durability and appearance of your kitchen. When cabinets are mounted securely and positioned accurately, they support countertops, fit appliances correctly, and withstand years of use. Good installation also helps doors align, drawers slide smoothly, and design lines remain straight. Proper placement of wall cabinets also supports everyday function because these units are used more frequently than nearly any other storage area in the kitchen.
Why installation quality makes a difference
- Durability: Strong mounting prevents shifting, sagging, or long term instability.
- Efficiency: Well placed cabinets improve storage access and workflow.
- Visual appeal: Clean alignment and consistent spacing elevate overall design.
- Home value: Updated kitchens installed properly attract future buyers.
- Safety: Secure fastening protects the household from falling or loose cabinets.
8 Steps to Successful Kitchen Cabinet Installation
Below is a breakdown of how cabinetry is installed in a typical kitchen remodel. This guide benefits both homeowners taking a hands on approach and those working with a contractor.
1. Prepare and plan your layout
Accurate planning sets a strong foundation for the rest of the project. Measurements, layout mapping, and inventory checks help prevent avoidable delays. This step is especially important when determining cabinet depth, appliance clearances, and the best placement for a corner cabinet that will maximize storage.
A few helpful steps include reviewing appliance placement, checking wall levelness, and confirming cabinet quantities before starting.
2. Remove old cabinets and hardware
If you are updating an existing kitchen, safe and careful removal protects the walls and utilities behind your cabinets.
- Power shutoff: Turn off electricity to nearby outlets and lighting.
- Component removal: Remove doors, drawers, and hardware first for easier handling.
3. Locate wall studs
Studs provide the strength needed to support cabinet weight. Using a reliable stud finder and marking the locations clearly helps guide your installation path.
- Reference lines: Mark stud lines lightly with pencil to track fastening points.
4. Use a support ledger board
A ledger board acts as a temporary support that holds upper cabinets in place while they are secured. It helps keep units level and steady until mounting is complete.
5. Attach upper cabinets first
Beginning with upper cabinets gives you more open workspace and improves installation accuracy. Care during this step ensures wall cabinets align correctly and tie into your design.
- Cabinet lifting: Set cabinets onto the ledger board for stability.
- Unit joining: Clamp and fasten neighboring cabinets for a seamless appearance.
- Stud fastening: Use cabinet rated screws for secure mounting.
6. Install base cabinets
Base cabinets anchor lower storage and support the countertop. Ensuring level placement is crucial to long term performance.
- Level adjustment: Use shims to correct uneven flooring.
- Consistent spacing: Confirm that all cabinets sit evenly before fastening.
7. Add doors, drawers, and hardware
This phase shapes the final look and function of your kitchen. Hinges, slides, and hardware must operate smoothly and align well.
- Gap consistency: Check spacing between doors and drawers.
8. Review, adjust, and finalize
A thorough inspection ensures strong results. Rechecking alignment, tightening fasteners, and cleaning surfaces prepares the kitchen for everyday use.
Tools and Materials Needed

These tools support an efficient installation and help you achieve clean, accurate results.
- Power drill: For drilling and fastening hardware.
- Stud finder: Helps locate secure mounting points.
- Level: Confirms straight lines for all cabinets.
- Measuring tape: Ensures accurate spacing.
- Clamps: Holds units together during fastening.
- Shims: Corrects uneven floors or walls.
- Safety gear: Gloves, goggles, and masks for protection.
7 Differences Between DIY and Professional Installation
Before deciding how to move forward, it helps to look at how DIY installation compares to professional service in a few key areas.
1. Understanding project costs
DIY installation often costs less upfront because you avoid labor fees. Professionals require a higher investment, but their efficiency and accuracy can prevent expensive mistakes later. Choosing between the two depends on your budget and comfort with potential rework.
2. Evaluating skill requirements
Installing cabinetry requires tool knowledge, accurate measuring, and careful handling of large, heavy pieces. Homeowners can take on the task, but a lack of experience increases the chance of uneven spacing or alignment issues. Professionals bring practiced skills that help ensure reliable and consistent results.
3. Time needed to complete the work
DIY installation can take significantly longer, especially if you need to troubleshoot unexpected issues. Professionals follow an established workflow and complete the project more quickly. This can be helpful when your kitchen cannot be out of service for long.
4. Accuracy of measurements and placement
Precise measuring affects cabinet spacing, appliance fit, and overall kitchen appearance. Homeowners may need extra time to achieve accurate results. Professionals complete these tasks with greater consistency, reducing the risk of visible imperfections.
5. Safety factors
Lifting, leveling, and fastening cabinets require safe handling, especially with heavy wall cabinets. DIY installers may face risks without proper techniques. Professionals use safe lifting methods and correct tools to protect both themselves and your home.
6. Long term performance expectations
A cabinet installation that starts with accurate measurement and strong fastening will last longer. DIY installations may loosen or shift over time if alignment or mounting points are off. Professional work is typically more structurally sound, supporting better long term durability.
7. Access to warranties and support
DIY work does not include protections if something goes wrong later. Professional installers often offer warranties that cover workmanship and adjustments. This added support provides peace of mind as your kitchen settles into daily use.
DIY vs Professional Installation Comparison Table
| Factor | DIY | Professional |
| Cost | Lower overall | Higher due to labor |
| Time | Longer and flexible | Shorter and predictable |
| Skill Required | Moderate to advanced | Expert |
| Risk Level | Higher | Lower |
| Precision | Varies by experience | Consistently accurate |
| Support | None | Often includes warranty |
Both approaches can work, but choosing the right one depends on your comfort level, available time, and expectations for the remodel.

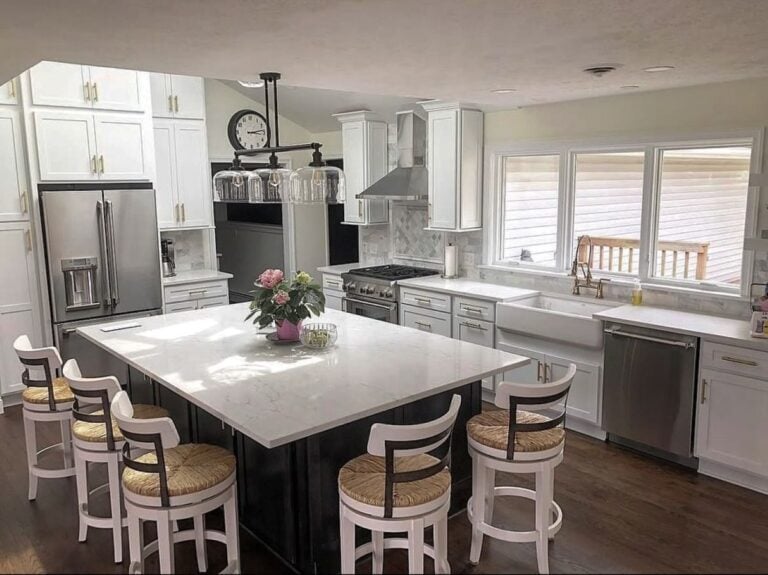
Completing the Layout with a Central Feature
While securely installed wall and base cabinets define the perimeter of your kitchen, the center of the room often holds untapped potential. If you have the space, a freestanding unit can unify the design and boost functionality. Browsing through inspiring kitchen island ideas can help you decide if adding a prep station, breakfast bar, or extra storage unit is the right finishing touch to complement your new cabinet installation.
Transform Your Space With Borowske Builders
Kitchen cabinet installation plays an important role in how your kitchen looks, functions, and supports daily routines. Whether you complete parts of the project yourself or prefer guidance from experienced professionals, understanding the process helps ensure dependable results. When you are ready to install kitchen cabinets as part of a complete kitchen remodel, Borowske Builders provides the planning, insight, and craftsmanship needed to create a space built for long term use.
Creating a cohesive design strategy cabinet installation is just one component of a larger vision for your home’s most high-traffic area. If you are aiming for a sleek, functional aesthetic that prioritizes clean lines and innovative storage solutions, exploring the elements of a modern kitchen can provide the inspiration needed to tie your new cabinetry into a contemporary and sophisticated layout. At Borowske Builders, we specialize in merging these design trends with practical craftsmanship to ensure your renovation is as stylish as it is durable.
We are proud to serve home and business owners in Brecksville, OH and nearby communities with kitchen renovation support, cabinet installation services, and more. Contact Borowske Builders today to begin designing a kitchen that improves efficiency, enhances storage, and elevates your home for years to come.