Bathroom Tile Installation: 8 Step Tiling Guide
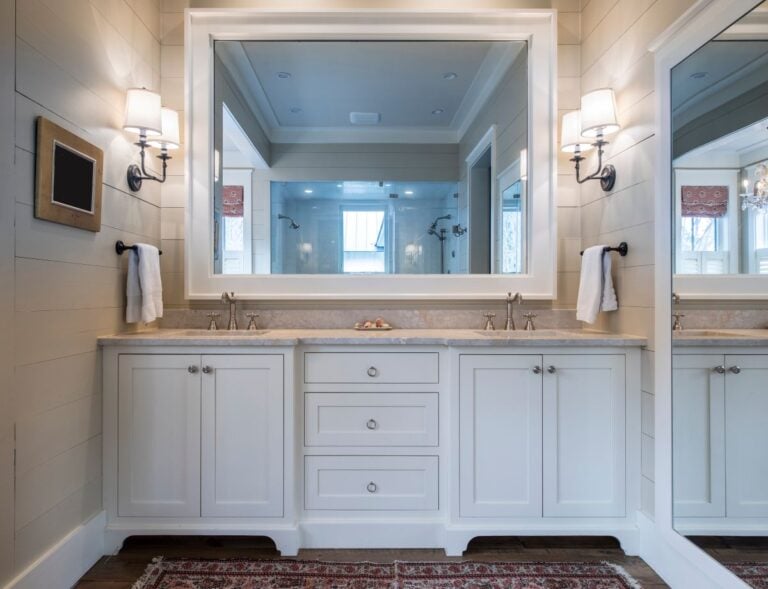
When it comes to transforming a bathroom into a beautiful and functional space, bathroom tile installation is a critical component that deserves careful attention. Tiles not only enhance the aesthetic appeal but also provide durability and water resistance, making them ideal for wet environments. Whether you’re renovating your bathroom or building a new one, mastering the tile installation process can save you time, money, and future headaches. For inspiration and professional services related to bathroom upgrades, check out expert help in bathroom remodeling.
- Understand the essential tools and materials: Know what you need before getting started.
- Prepare the surface correctly: Ensure long-term adhesion and durability.
- Follow a detailed, easy-to-understand 8-step guide: Learn how to tile like a pro.
- Avoid common mistakes: Tips to handle challenges confidently.
- Keep your tiles looking fresh: Learn best practices for tile maintenance.
Why Proper Bathroom Tile Installation Matters
Quality bathroom tile installation ensures both aesthetic and practical benefits, helping maintain the integrity and appearance of your space. Poor installation can lead to water damage, mold growth, and costly repairs. Good tiling also enhances property value and creates a pleasing environment for daily use.

- Durability: Proper installation prevents cracking and loosening over time.
- Water Resistance: Correct sealing and layout protect underlying structures.
- Visual Appeal: Precision in placement and grout lines elevate design.
- Maintenance Ease: Well-installed tiles are easier to clean and maintain.
- Cost Efficiency: Reduces the need for early replacements or repairs.
8-Step Guide to Bathroom Tile Installation
Embarking on a bathroom tile installation project requires a systematic approach to achieve long-lasting and professional results. Here’s a comprehensive 8-step guide that takes you from preparation to finishing touches.
1. Gather Your Tools and Materials
Having the right tools and materials on hand is essential before starting any tiling project. This preparation helps you work efficiently and maintain high standards.
- Tools: Tile cutter, notched trowel, level, sponge, tile spacers, rubber mallet.
- Materials: Tiles, thinset adhesive, grout, sealant, backer board (if necessary).
2. Prepare the Surface
Proper surface preparation ensures tile adhesion and longevity. The surface should be clean, dry, and level.
- Clean: Remove any dust, grease, or old adhesive residue.
- Level: Patch holes and smooth uneven areas.
- Waterproofing: Apply a waterproof membrane if the installation area is prone to moisture.
- Remove old flooring: Strip away worn surfaces to reveal a solid base for tile.
3. Plan Your Layout
Planning your tile layout before applying adhesive maximizes visual appeal and limits awkward cuts.
- Centerline: Mark reference lines to guide tile placement.
- Dry laid tiles: Lay out tiles without adhesive to preview spacing and square footage coverage.
- Adjust: Shift tile lines if cuts end up too small or uneven. Plan decorative items placement as needed.
4. Apply Thinset Adhesive
Using the right technique to spread adhesive is crucial for a solid bond.
- Mix thinset: Follow manufacturer instructions for consistency.
- Trowel application: Use a notched trowel to comb thinset onto the surface evenly.
- Work in sections: Apply adhesive only to areas that can be tiled before it dries.
5. Install the Tiles
Careful tile placement ensures alignment and minimizes grout gaps.
- Place tiles: Press firmly into the adhesive, using spacers for even grout lines.
- Tap tiles: Use a rubber mallet to gently level tiles and improve adhesion.
- Check alignment: Frequently use a level to maintain a flat and consistent bathroom floor surface. Start by laying one tile at the center and build outwards.
6. Grout the Tiles
Grouting fills the gaps between tiles to seal and finish the installation.
- Choose grout: Select the appropriate color and type (sanded or unsanded).
- Apply grout: Use a rubber float to spread grout diagonally across tiles.
- Clean excess: Wipe off grout residue with a damp sponge before it dries.
7. Seal and Finish
Sealing grout lines adds protection against moisture and stains, preserving your work.
- Allow drying: Wait 24–48 hours before sealing.
- Apply sealant: Use a grout sealant with a small brush or applicator.
- Final clean: Polish tiles to remove haze and bring out shine.
8. Inspect and Touch Up
Final inspection allows you to check for any missed spots or uneven edges. Make small corrections as needed to ensure a professional result.
- Inspect alignment: Look for lippage, inconsistent gaps, or missing grout.
- Touch up: Fill any voids and re-clean areas with residue.
- Let cure: Allow full curing time before using the tiled area.
Common Challenges in Bathroom Tile Installation and How to Overcome Them
Even experienced DIYers and professionals encounter obstacles during tile installation. Recognizing these issues early can help you tackle them effectively.
- Uneven surfaces: Use leveling compounds and backer boards to create a flat base.
- Improper adhesive use: Follow adhesive instructions closely and avoid applying too thick or thin layers.
- Cut tile fitting: Use quality tile cutters and measure precisely to prevent waste.
- Grout cracking: Allow appropriate drying time and use flexible grout where needed.
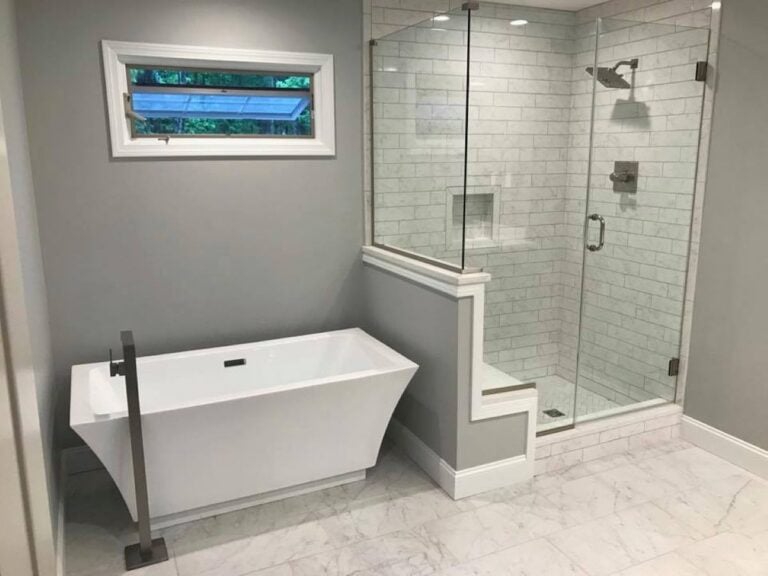
- Water damage: Invest time in waterproofing membranes and sealant application.
Successfully navigating these installation hurdles guarantees a high-quality finish, but sometimes a new floor or wall design highlights the age of existing fixtures. If you decide that your renovation shouldn’t stop at the tiles, looking into how much does it cost to replace a bathtub is a smart next step to ensure your budget covers every aspect of a complete bathroom transformation.
Maintenance Tips for Beautiful Bathroom Tiles
Maintaining bathroom tiles will keep them looking fresh and lasting longer. Regular care can prevent common issues such as mold growth and staining.
Regular Cleaning
- Routine care: Daily or weekly cleaning with a mild detergent helps prevent buildup and keeps grout bright.
Grout Care
- Protective maintenance: Apply grout cleaner periodically and reseal grout lines annually to maintain water resistance.
Addressing Mold and Mildew
- Health and longevity: Use a vinegar-water solution or specialized mold cleaners to remove mold promptly to protect health and tile integrity.
Avoid Harsh Chemicals
- Surface safety: Strong acids or abrasive cleaners can damage tile surfaces or grout; opt for gentle cleaning agents instead.
Frequently Asked Questions About Bathroom Tile Installation
Understanding common queries helps homeowners plan better and avoid surprises during bathroom tiling.

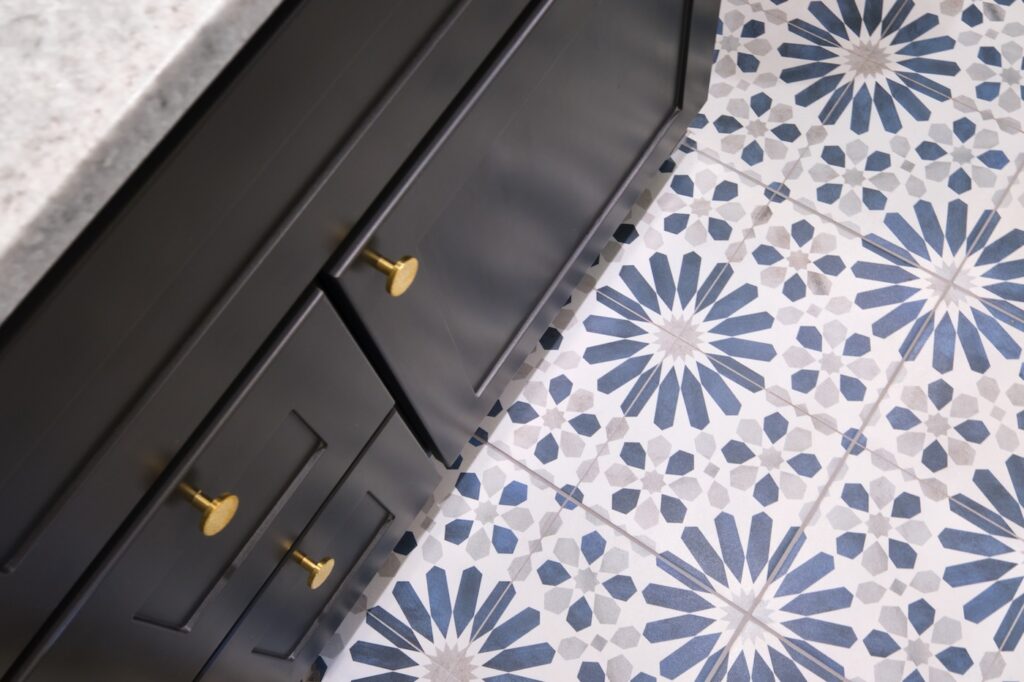
- What type of tile is best for bathrooms? Porcelain and ceramic tiles are popular due to their water resistance, durability, and wide range of design options.
- How long does bathroom tile installation take? Depending on the bathroom size and complexity, installation can take between 2 to 5 days, including drying time.
- Can I install tile over existing tiles? Yes, but it requires cleaning, leveling, and ensuring proper adhesion surfaces to avoid future problems.
- Do I need to waterproof before tiling? Waterproofing is recommended, especially in wet zones like showers, to prevent water damage beneath tiles.
- What should I do if a tile cracks after installation? Replace cracked tiles promptly to avoid increased damage or moisture infiltration.
Enhance Your Bathroom with Expert Help
Understanding bathroom tile installation empowers you to take on a rewarding home improvement project or make informed decisions when hiring professionals. Borowske is ready to guide you through the entire process to ensure a flawless finish.
While knowing the technical requirements ensures a durable finish, applying these principles to a compact floor plan requires a specific design approach. If you are working with limited square footage, exploring creative small bathroom ideas can provide the inspiration needed to select tile patterns and layouts that make your space feel larger and more inviting.
Whether you’re upgrading your bathroom floor during a bathroom renovation or looking for a trusted tile installer to lay bathroom tile with precision,contact us today at Borowske and turn your bathroom vision into reality.